
Key takeaways
- Green jobs (cleaning, tightening accessible bolts, leveling, belt centering and lubrication as the manual describes) are safe for most owners.
- Yellow jobs (pedals, running belts, brake pads, seats and pads) are doable with care, but a mistake can damage the machine.
- Red jobs (electrical work, bearings, strength-machine cables and pulleys, frames and tensioned mechanisms) need a professional.
- Always unplug or unload first, never bypass a safety feature, and stop if the job isn't going the way the manual says it should.
Ground rules before any DIY repair
Modern fitness equipment combines heavy mechanical loads with sensitive electronics, so even simple jobs deserve a few precautions:
- Unplug powered equipment and wait a few minutes before removing a motor hood; some boards can hold a charge after the plug is pulled.
- Unload strength machines: no selector pin in the stack, no tension on the cable and nothing that can drop.
- Read the owner's manual first. It tells you what owners are expected to do and what could affect the warranty.
- Use the right tools and parts. A hex key that almost fits strips bolts, and a part that almost fits can fail.
- Take photos before you remove anything so you know how it goes back together.
- Never bypass a safety feature, such as a safety key, emergency stop, limit switch or guard.
- Stop if it isn't going the way the manual says. Forcing a part is how a small job becomes a big repair.
Green light: safe for most owners
These tasks need basic tools, carry little risk and prevent a lot of repairs:
- Cleaning: wiping sweat off frames and consoles, and vacuuming around and under machines (unplugged).
- Tightening accessible hardware: frame, handlebar and console bolts you can reach without removing covers. Snug, not over-tight.
- Leveling: adjusting the leveling feet so the machine doesn't rock.
- Treadmill belt centering: small quarter-turn adjustments to the rear roller bolts, exactly as the manual describes.
- Deck lubrication: only if the manual calls for it, with the lubricant it specifies. The treadmill belt lubrication guide walks through it.
- Simple replacements: console batteries, pedal straps, or a lost safety key ordered for your model.
Yellow light: proceed with caution
A careful, handy owner can do these, but mistakes can damage the machine or create a hazard:
- Replacing pedals: the left pedal usually has a reverse (left-hand) thread, and cross-threading a crank arm can ruin it.
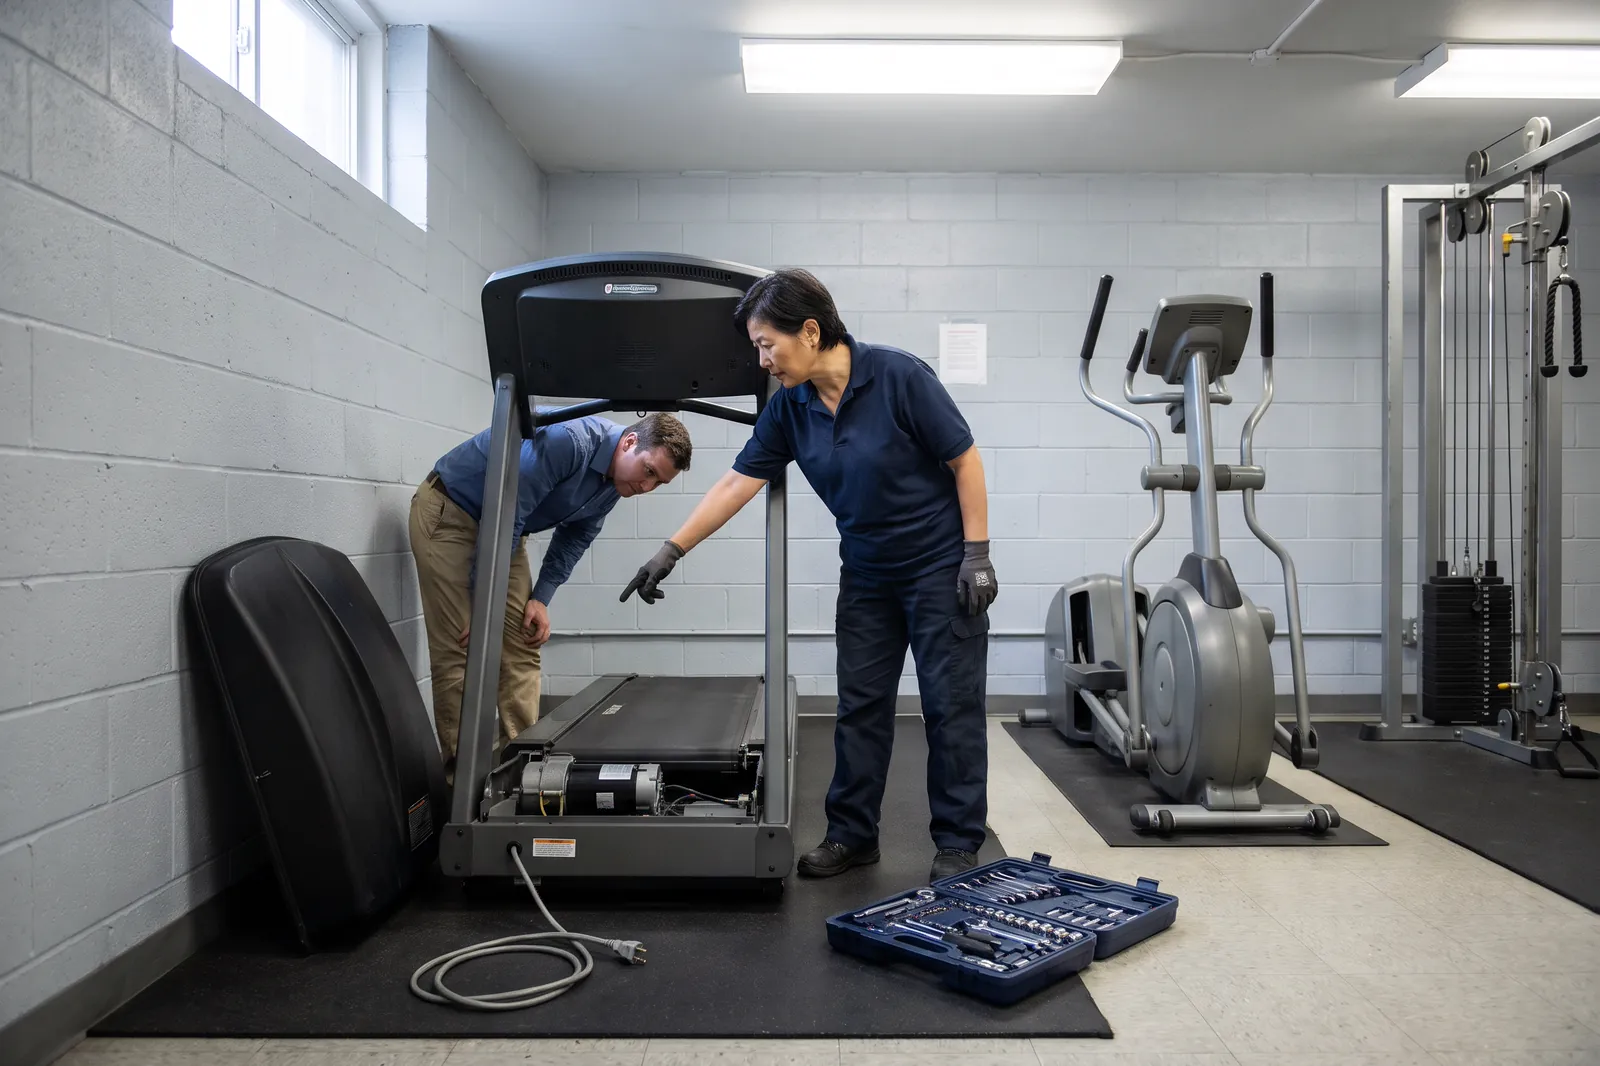
- Replacing a treadmill running belt: removing the old belt is easy; tensioning and centering the new one is not. An over-tight or off-center belt damages rollers, bearings and the motor. Check the deck for wear while you're there.
- Brake pads on an indoor cycling bike: the emergency brake has to stop the flywheel afterward, every time.
- Seats, seat posts and upholstery pads: use the correct hardware and confirm every lock holds under load.
- Drive belt adjustment on a simple home bike, if the manual covers it.
If you can't confidently test the result (a belt that tracks straight, a brake that stops the flywheel), treat the job as red.
Red light: call a professional
These repairs involve high-risk parts where a mistake can be dangerous, costly or both:
- Electrical work of any kind: drive motors, motor controllers (the boards that power the motor), consoles, wiring and incline motors. There's a shock risk, and a new board installed incorrectly can be destroyed on the spot.
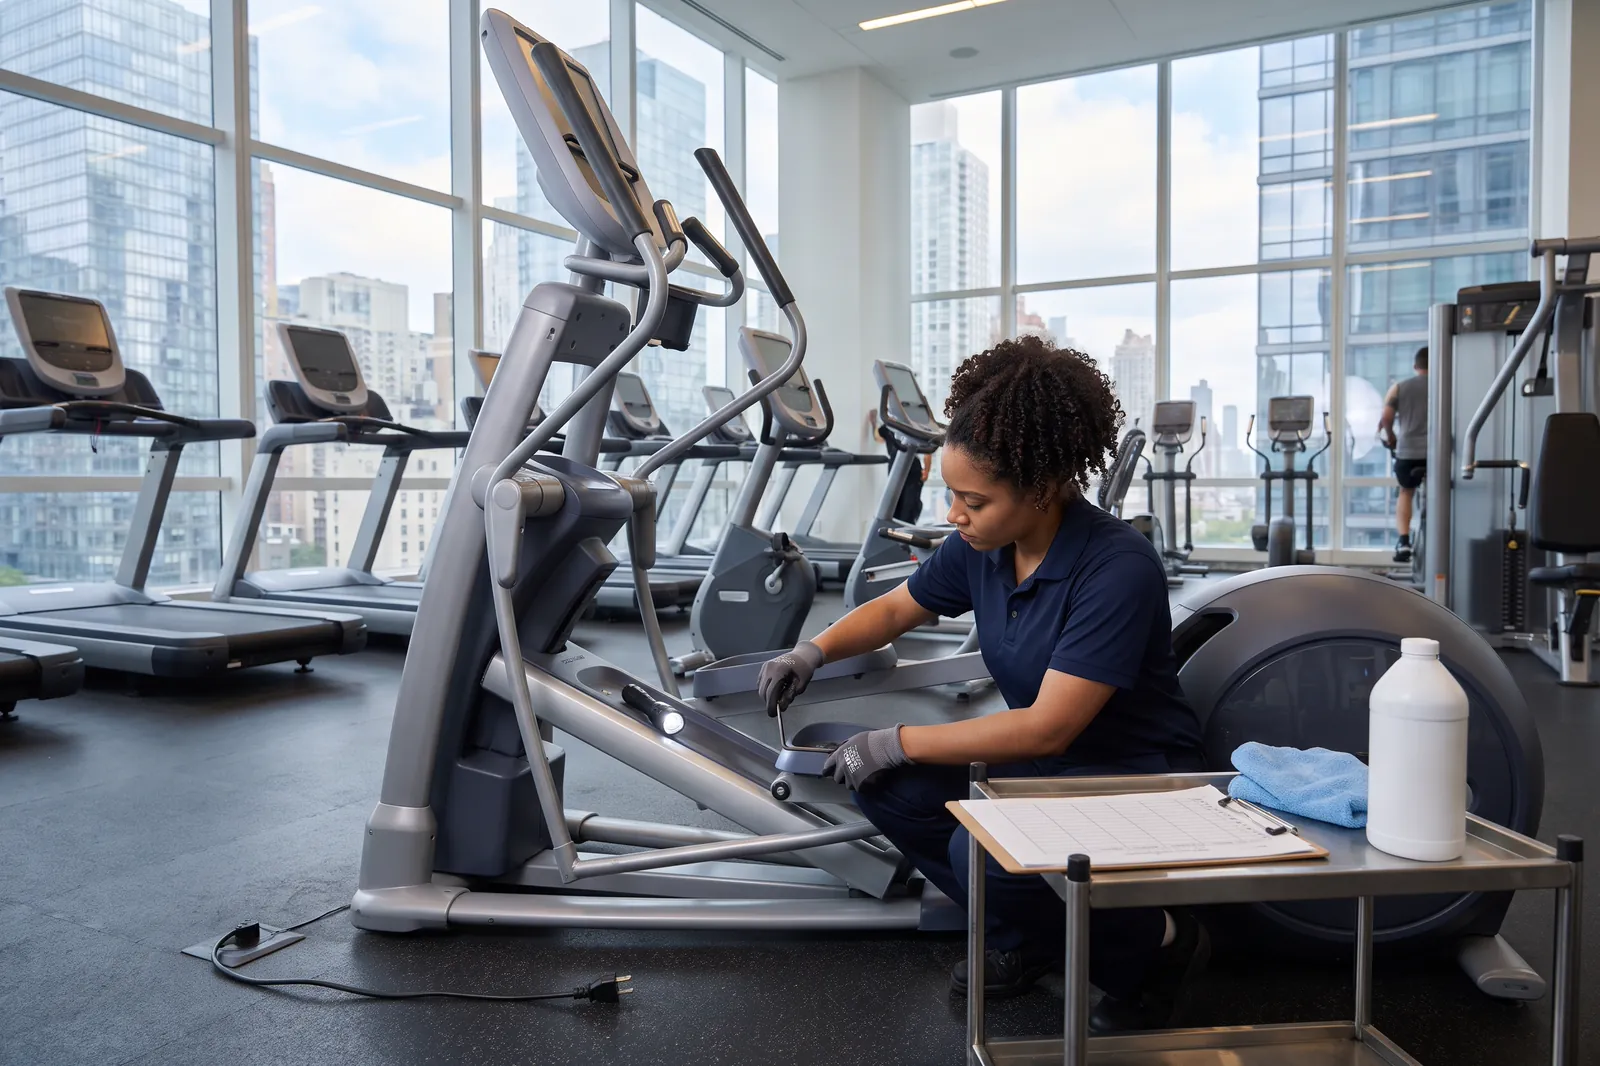
- Bearings: grinding in an elliptical, bike or rower usually means worn bearings, which are often press-fit and need pullers and presses to replace without damaging the frame.
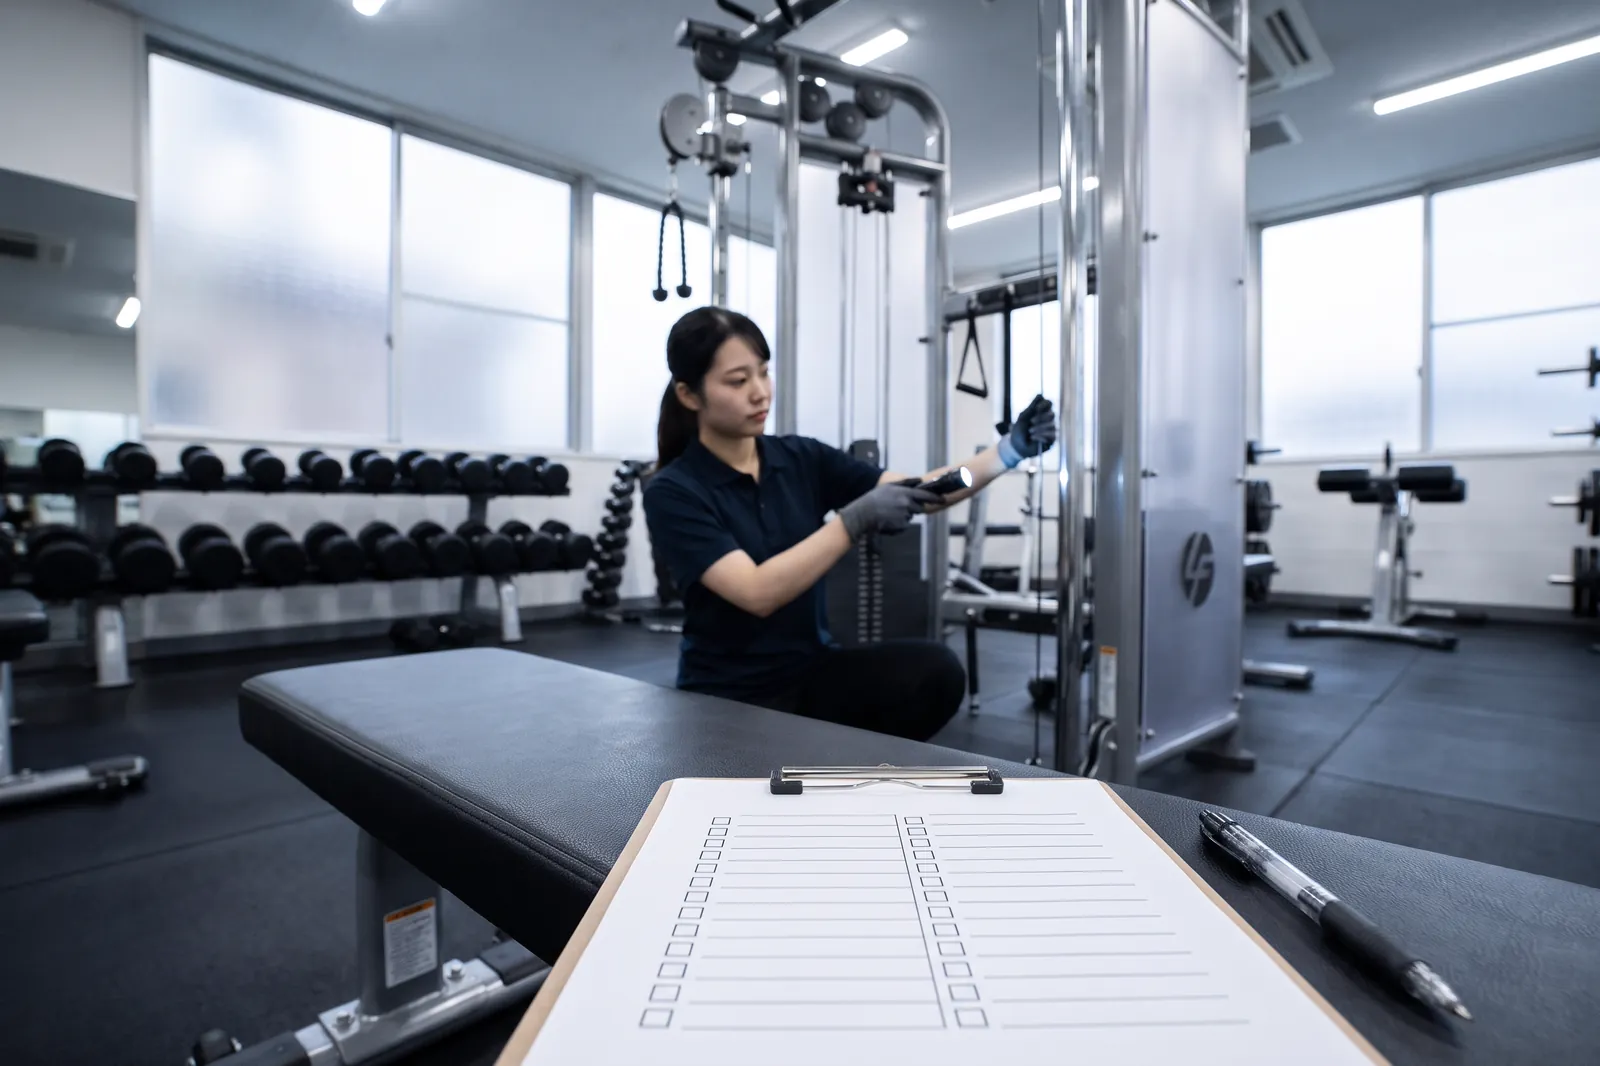
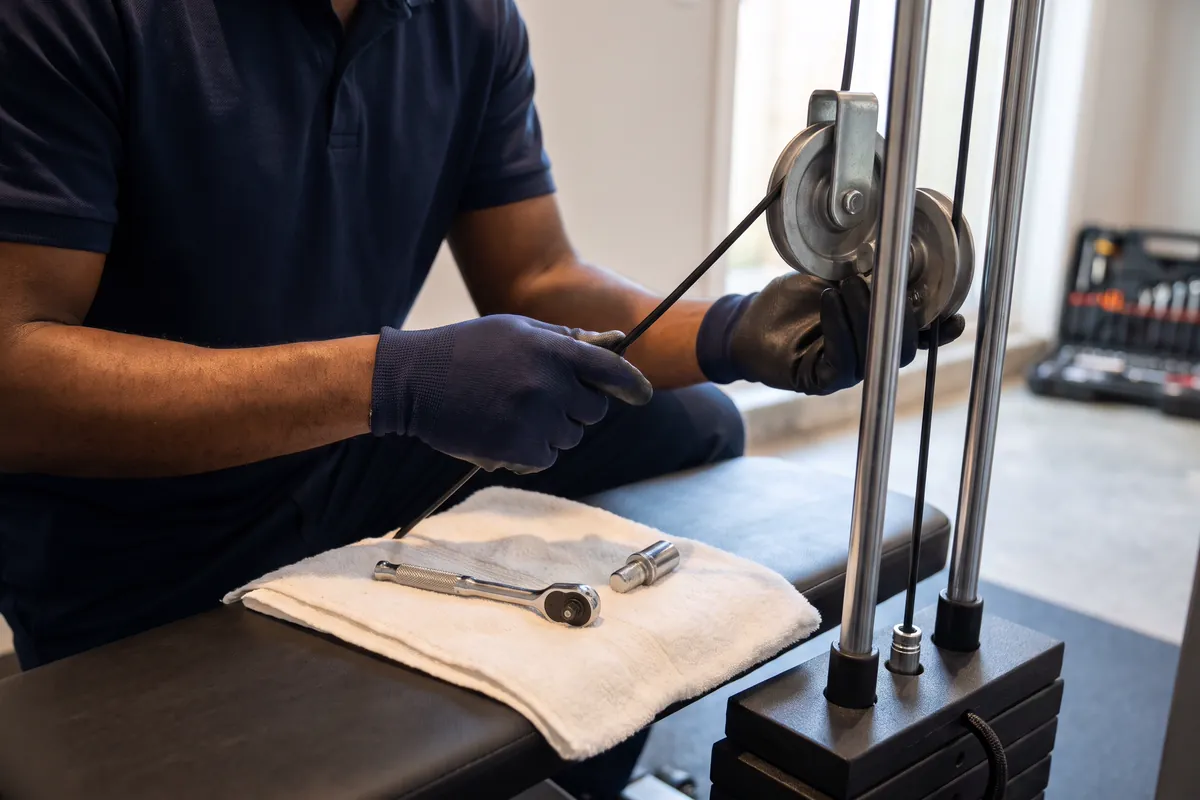
- Strength-machine cables and pulleys: a cable of the wrong length or type, with the wrong fittings, or routed incorrectly can fail under load.
- Frames, welds and structural parts: anything cracked, bent or rusted through.
- Tensioned and spring-loaded mechanisms: folding-treadmill lift assists, counterbalance systems and gas springs.
- Equipment in shared or commercial facilities, where staff repairs on resident or member equipment create liability.
Common DIY mistakes to avoid
- Over-tightening a treadmill belt to stop slipping. A tight belt hides the real cause (often a dry deck or a worn drive belt) and overloads the rollers, bearings and motor. See why treadmill belts slip.
- Using the wrong lubricant. Household spray lubricants and oils can damage treadmill belts and decks. Use only what the manual specifies, and nothing at all on a pre-waxed deck.
- Ordering a “close enough” part. Cables and belts are sized for each model, and a near match can fail or wear out quickly.
- Running the machine with covers off. Motor hoods and shrouds keep fingers, clothing and pets away from belts and pulleys.
- Resetting an error code again and again. One power cycle is reasonable; repeated resets can make an electrical fault worse. The guide to treadmill error codes explains what they usually mean.
- Mixing up hardware. Bolts of different lengths often belong in specific holes, and a long bolt in the wrong place can hit a moving part.
DIY vs. professional at a glance
| Job | Who | Why |
|---|---|---|
| Wiping down and vacuuming | DIY | Low risk; prevents dust and sweat damage |
| Tightening accessible bolts | DIY | Basic tools; don't over-tighten |
| Leveling feet | DIY | Stops rocking and uneven wear |
| Treadmill belt centering | DIY | Small adjustments, as the manual describes |
| Deck lubrication | DIY | Only if the manual calls for it |
| Pedal replacement | Careful DIY | Reverse threads and cross-threading risk |
| Running belt replacement | Careful DIY or professional | Tension and tracking must be right |
| Indoor cycling brake pads | Careful DIY or professional | The emergency brake must work |
| Motor, board or wiring | Professional | Shock risk and expensive parts |
| Bearings | Professional | Press-fit parts and special tools |
| Cables and pulleys | Professional | Can fail under load if done wrong |
| Frame or weld damage | Professional | Structural safety |
Warranty, insurance and building rules
Before you open anything, check your warranty. Some warranties exclude damage from improper repairs or non-original parts, so keep receipts and notes for any work you do yourself.
Shared settings add more to think about. A condo board, managing agent or employer may require that work on shared equipment be done by licensed and insured technicians, and many NYC buildings ask for a certificate of insurance before anyone works on-site. Commercial facilities should record every repair and who did it.
Stuck on a repair, or facing a red-light job? Don't risk it. Certified, licensed and insured technicians come to your home or facility for gym equipment repair, and you get a written quote before any work starts.
When to call a technician
- Any red-light job from the list above
- A DIY repair that didn't fix the problem or made it worse
- A burning smell, sparks, a tripped breaker or an error code that keeps returning
- A frayed cable, a cracked pulley or a frame that moves
- A treadmill belt that still slips or drifts after you've adjusted it
Unplug or unload the machine and take it out of service. When you request treadmill repair or strength machine repair, mention anything you've already tried; it helps the technician diagnose faster. If the fix turns out to be major, read repair or replace: how to decide before you commit.